Editorial
How to Connect Laptop to TV Using HDMI Cable
Connect your laptop to any TV with an HDMI cable! This guide provides easy, step-by-step instructions to set up video and audio for movies, presentations, or extended displays.
Connecting your laptop to a TV using an HDMI cable is one of the easiest and most effective ways to enjoy content on a larger screen. Whether you want to watch a movie, play a game, give a presentation, or simply expand your desktop workspace, an HDMI connection offers high-quality video and audio transmission with minimal setup.
The High-Definition Multimedia Interface (HDMI), introduced in 2002, revolutionized home entertainment and computer connectivity. Before HDMI, connecting a computer to a television often involved multiple cables: a VGA or DVI cable for video and a separate 3.5mm audio cable. HDMI simplified this significantly by carrying both high-definition video and multi-channel audio signals over a single cable. This all-in-one solution quickly became the standard, replacing older analog connections and making it incredibly straightforward to mirror or extend your laptop’s display onto a TV. This guide will walk you through the simple steps to successfully connect your laptop to a TV using an HDMI cable and optimize your viewing experience.
Understanding the Essentials: HDMI and Your Devices
Before you begin, gather the necessary items and understand what you’re connecting.
- HDMI Cable: Ensure you have a standard HDMI cable. There are different versions (e.g., HDMI 1.4, 2.0, 2.1) that support various resolutions and refresh rates, but any standard HDMI cable will work for basic connectivity. For 4K or higher resolutions and high refresh rates, you’ll need a High-Speed or Ultra High-Speed HDMI cable.
- Entity: An HDMI cable is a type of cable used to transmit uncompressed digital audio and video data from an HDMI-compliant source device (like a laptop or set-top box) to a compatible computer monitor, video projector, digital television, or digital audio device.
- Laptop with an HDMI Port: Most modern laptops have a standard HDMI port. If your laptop has a USB-C port instead of HDMI, you might need a USB-C to HDMI adapter (more on this in the FAQ).
- TV with an HDMI Port: Your TV should have at least one HDMI input. TVs often label them as HDMI 1, HDMI 2, etc.
- Power for Both Devices: Ensure both your laptop and TV are plugged into power outlets.
Step-by-Step Guide: Connecting Your Laptop to TV
Connecting is usually a plug-and-play process, but sometimes you need to adjust settings.
Step 1: Power On Your Devices
- Turn on your TV and laptop. It’s often recommended to turn on the TV first.
- Ensure both devices are fully booted up before proceeding.
Step 2: Connect the HDMI Cable
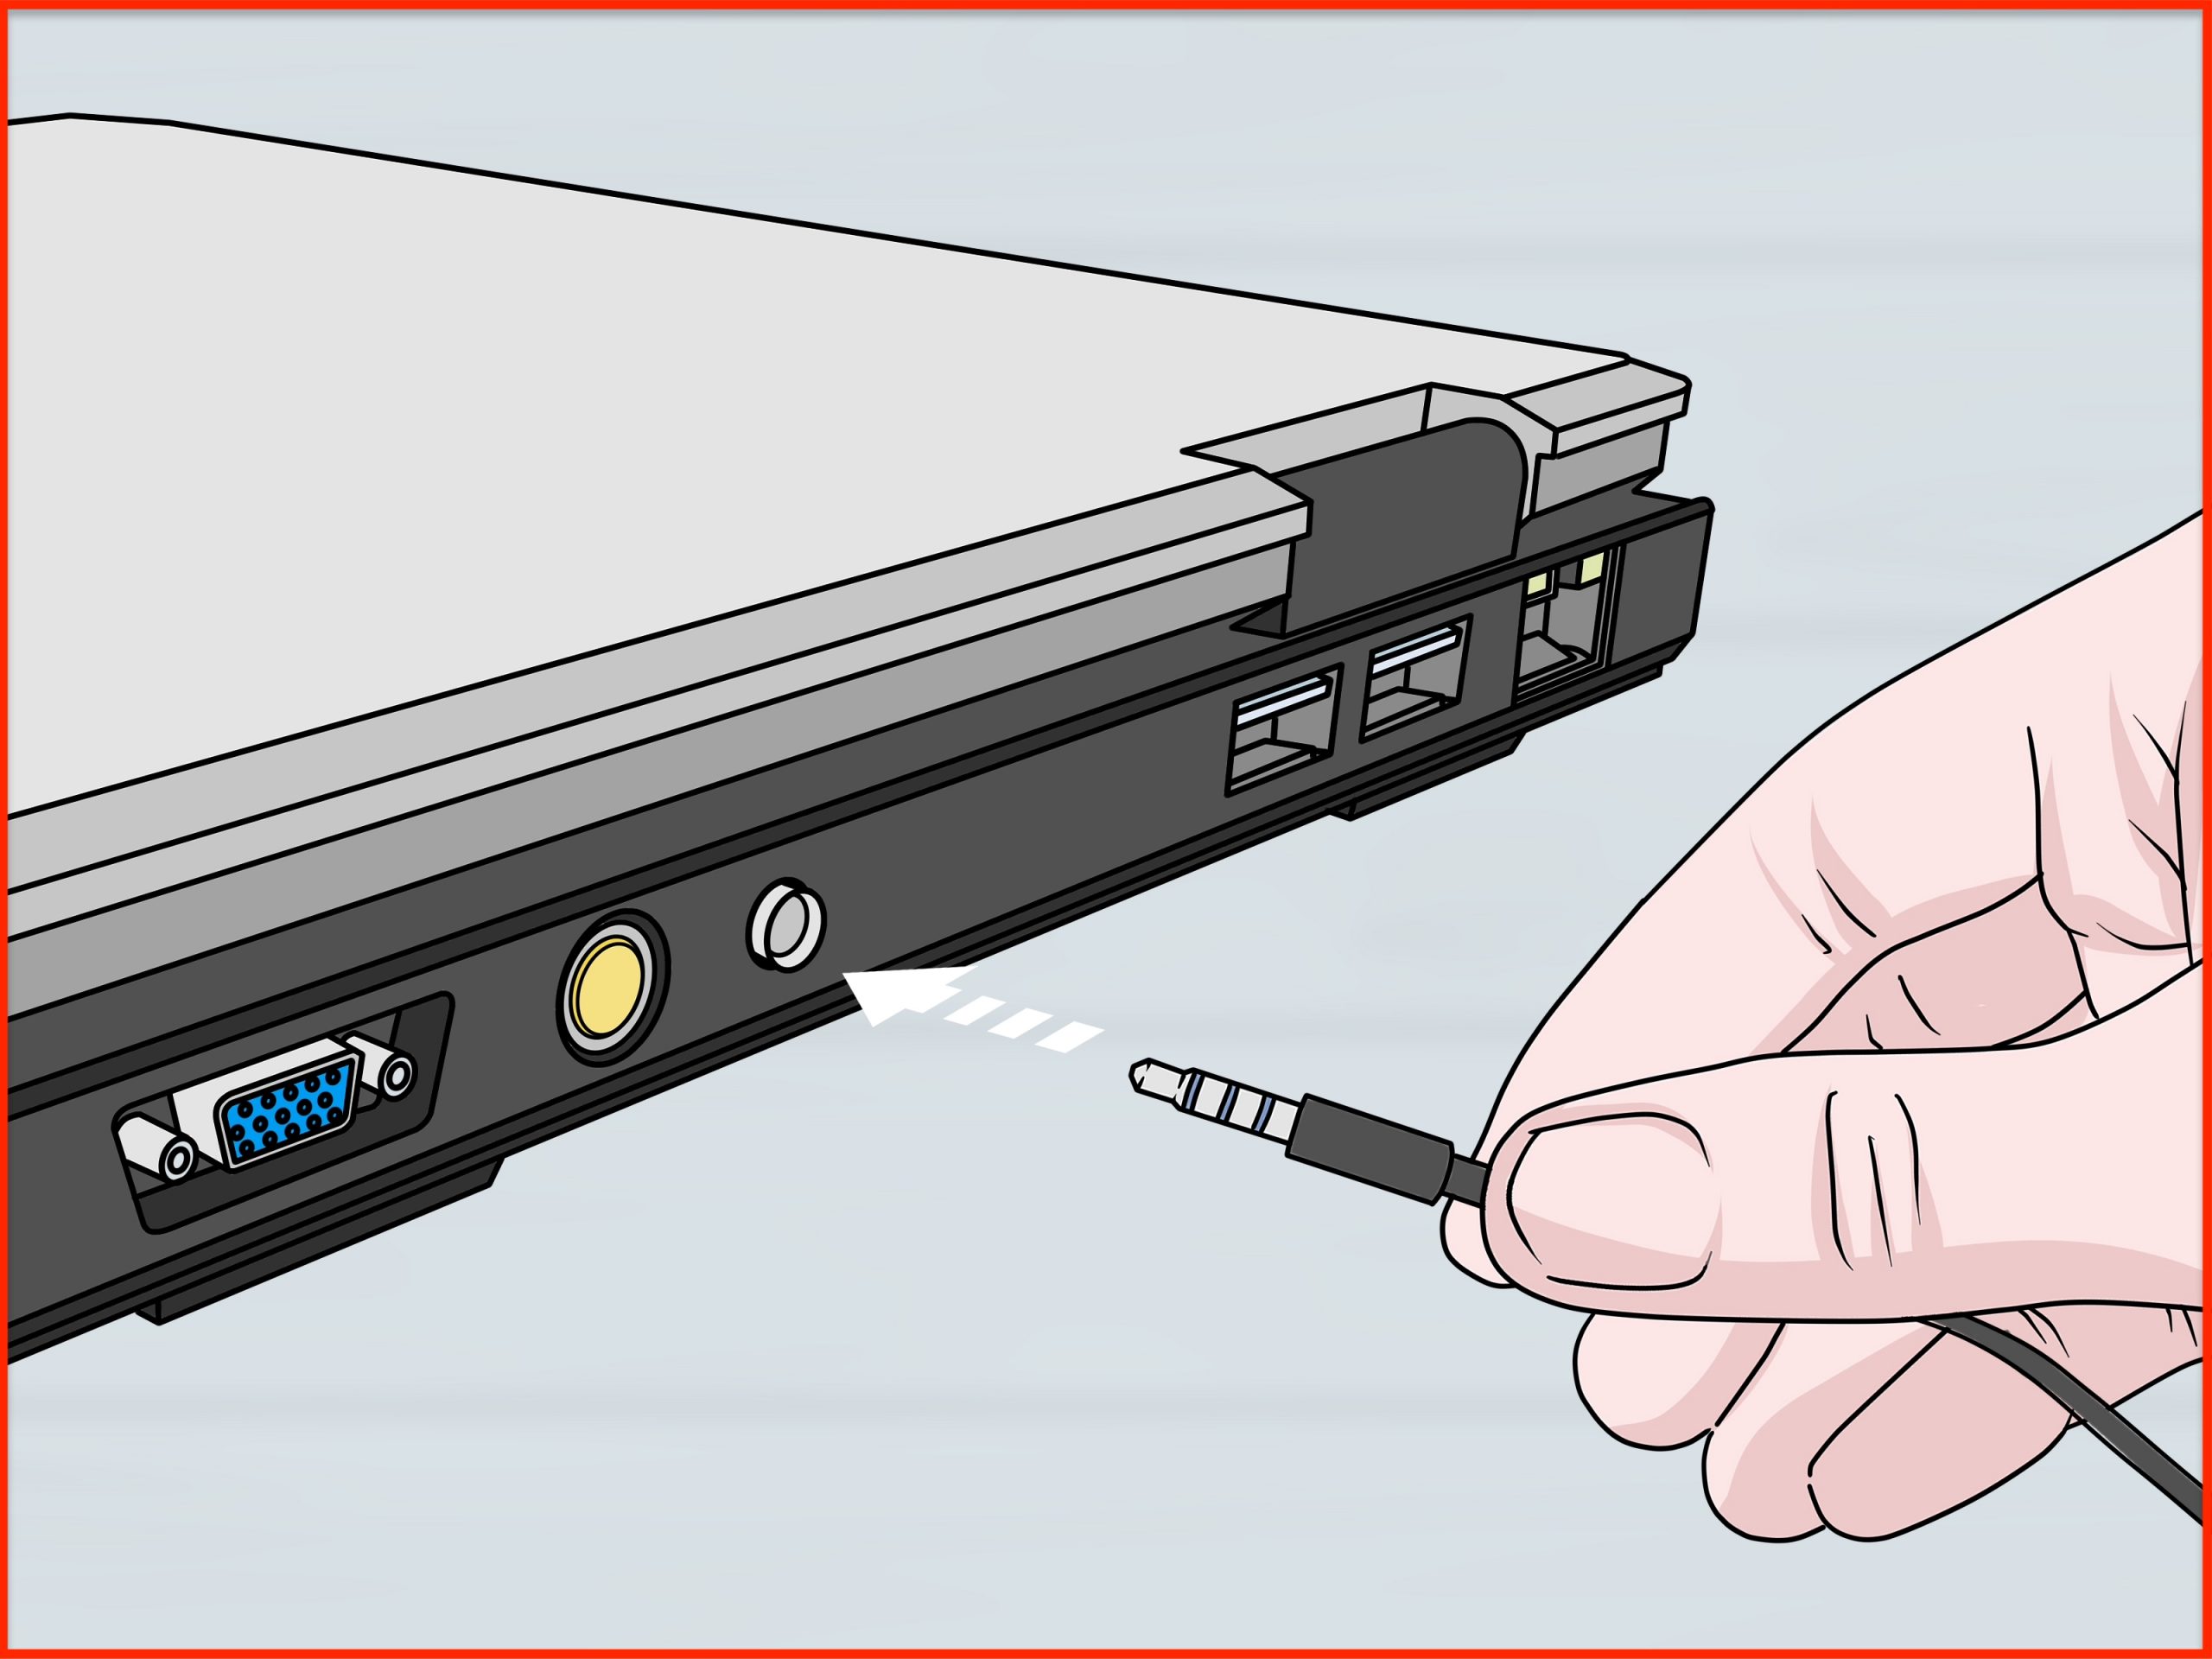
- Locate the HDMI port on your laptop. It typically looks like a slim, six-sided port.
- Insert one end of the HDMI cable firmly into your laptop’s HDMI port.
- Locate an available HDMI input port on your TV. Most TVs have multiple HDMI ports, often labeled HDMI 1, HDMI 2, etc.
- Insert the other end of the HDMI cable firmly into the chosen HDMI port on your TV. Make a note of which HDMI port you used (e.g., HDMI 2), as you’ll need this for the next step.
Step 3: Select the Correct Input on Your TV
- Grab your TV remote control.
- Press the “Input,” “Source,” or “TV/Video” button. This button’s label varies by TV brand.
- Use the remote’s arrow keys to navigate through the list of inputs (e.g., TV, AV, Component, HDMI 1, HDMI 2, USB).
- Select the HDMI input that corresponds to the port you used in Step 2 (e.g., if you plugged into “HDMI 2” on your TV, select “HDMI 2” on the input menu).
- Entity: The Input/Source button on a TV remote control is used to switch between different video and audio input sources connected to the television, such as HDMI ports, AV inputs, or internal tuners.
At this point, your TV screen should either mirror your laptop’s display or show an extension of it. If it doesn’t, proceed to the next step.
Step 4: Configure Display Settings on Your Laptop (Windows)
Windows needs to know how you want to use the second display.
- Access Display Settings using Keyboard Shortcut:
- On your laptop, press the Windows key + P (the “P” stands for “Project”). This will open a “Project” or “Project to a second screen” sidebar or menu.
- Entity: The Windows key (often marked with the Windows logo) is a common modifier key on computer keyboards, primarily used to open the Start menu or for various keyboard shortcuts in Microsoft Windows.
- Choose a Display Mode: You’ll see a few options:
- PC screen only: Your TV will be black, and content only shows on your laptop.
- Duplicate: Shows the same content on both your laptop and the TV. Ideal for presentations or watching a movie together.
- Extend: Extends your desktop across both screens, giving you more screen space. You can drag windows between your laptop screen and the TV. This is great for multitasking.
- Second screen only: Your laptop screen will go black, and content will only show on the TV. Useful if you’re using the TV as your primary monitor.
- Select your desired mode. For most uses, “Duplicate” or “Extend” are the most common.
- Troubleshooting (if no display): If the TV is still blank after selecting a mode, try these:
- Right-click on an empty area of your desktop and select “Display settings.”
- Scroll down to the “Multiple displays” section.
- Click “Detect” (in some Windows versions, this button might be less prominent or appear when you scroll down).
- Ensure the TV is listed as a detected display. If not, it could indicate a cable, port, or driver issue (refer to “How to Fix HDMI Not Working” for deeper troubleshooting).
Step 5: Configure Audio Output (Optional but Recommended)
By default, HDMI carries both video and audio. Windows should automatically switch the audio output to your TV, but if it doesn’t, you’ll need to manually select it.
- Locate the Sound Icon on the Taskbar: In the bottom-right corner of your laptop’s taskbar, left-click on the speaker icon.
- Entity: The Taskbar is a visual element of the graphical user interface of Microsoft Windows, typically located at the bottom of the screen, providing quick access to running applications, the Start menu, and system icons like the speaker icon.
- Change Audio Output:
- Windows 11: In the quick settings panel that appears, click the right-arrow next to the volume slider. This expands a list of available audio output devices.
- Windows 10: Above the volume slider, you’ll see the name of the currently active audio output device. Click on this name. This expands a list of available audio output devices.
- Select Your TV’s Audio: From the list, select the entry that corresponds to your TV (it might be named after your TV brand, or “HDMI Output,” “Digital Audio (HDMI),” “NVIDIA High Definition Audio,” etc.).
- Test Audio: Play some audio on your laptop (e.g., a YouTube video) to confirm that the sound is now coming from your TV.
Optimizing Your TV as a Display
Once connected, you might want to optimize the display for a better experience.
- Resolution: In “Display settings” (from Step 4), ensure the “Display resolution” matches your TV’s native resolution (e.g., 1920×1080 for Full HD, 3840×2160 for 4K). Setting the correct resolution ensures a sharp image.
- Refresh Rate: For smoother video or gaming, you can adjust the “Refresh rate” in “Advanced display settings” (within Display settings). Your TV’s refresh rate (e.g., 60Hz, 120Hz) should be an option.
- Overscan/Underscan: Sometimes, the image on your TV might be cut off at the edges (overscan) or have black borders (underscan). This is usually a TV setting. Look for an “Aspect Ratio,” “Picture Size,” “Just Scan,” or “Screen Fit” option in your TV’s picture settings to adjust this.
The Power of External Displays
The ability to connect your laptop to a TV using an HDMI cable extends far beyond simple mirroring. It transforms your TV into a versatile external display, allowing for:
- Immersive Entertainment: Enjoy movies, streaming services, and games on a large screen with better sound.
- Enhanced Productivity: “Extend” your desktop to create a multi-monitor setup, giving you more screen real estate for work.
- Collaborative Work/Learning: Easily share content with others in a room during presentations or study sessions.
This simple connection is a testament to the enduring utility of standardized interfaces in bridging different technological ecosystems and enhancing our digital interactions.
Frequently Asked Questions (FAQ)
Q1: My laptop doesn’t have an HDMI port. What can I do?
If your laptop has a USB-C port that supports video output (often labeled with a DisplayPort or Thunderbolt icon next to it), you can use a USB-C to HDMI adapter or a USB-C docking station with an HDMI port. If it has a DisplayPort or Mini DisplayPort, you’ll need a DisplayPort to HDMI adapter. Very old laptops might have VGA, requiring a VGA to HDMI converter (which usually doesn’t carry audio).
Q2: I have video but no sound on my TV. How do I fix it?
This is a common issue.
- Check Audio Output: Ensure your TV’s HDMI audio is selected as the default playback device in Windows (refer to Step 5).
- TV Volume/Mute: Make sure your TV’s volume isn’t muted or too low.
- TV Input Source: Double-check that your TV is on the correct HDMI input.
- Update Audio Drivers: In Device Manager, check and update your “Sound, video and game controllers” (specifically the HDMI audio driver like “Intel Display Audio” or “NVIDIA High Definition Audio”).
Q3: My TV screen is black or “No Signal” after connecting. What’s wrong?
- Check Cable Firmness: Ensure the HDMI cable is firmly seated at both ends.
- Correct TV Input: Verify your TV is set to the correct HDMI input source (Step 3).
- Windows Display Mode: Press Windows key + P and cycle through “Duplicate” or “Extend” (Step 4).
- Reboot All Devices: Turn off the laptop and TV, unplug them, wait 30 seconds, then plug back in and restart.
- Try Different Cable/Port: Test with another HDMI cable or a different HDMI port on your TV.
- Update Graphics Drivers: Outdated graphics drivers are a common cause (refer to “How to Fix HDMI Not Working” article for detailed steps).
Q4: Can I close my laptop lid and still use the TV as the only display?
Yes!
- Connect your laptop to the TV via HDMI.
- Press Windows key + P and select “Second screen only.”
- Go to Control Panel > Hardware and Sound > Power Options > Choose what closing the lid does.
- For “When I close the lid,” set both “On battery” and “Plugged in” options to “Do nothing.”
- Click “Save changes.” Now you can close your laptop lid, and the display will remain active on your TV.
Q5: Why is my TV display blurry or scaled incorrectly?
- Resolution Mismatch: Ensure your laptop’s output resolution in “Display settings” (Step 4) matches your TV’s native resolution.
- TV Picture Settings: Look for “Aspect Ratio,” “Picture Size,” “Just Scan,” or “Screen Fit” options in your TV’s menu to correct overscan/underscan. Some TVs have a “PC Mode” or “Game Mode” for HDMI inputs that can help with proper scaling.
- Graphics Driver Scaling: If issues persist, check your graphics card control panel (e.g., NVIDIA Control Panel, AMD Radeon Settings, Intel Graphics Command Center) for scaling options.


