Editorial
How to Connect Laptop to Monitor and Use Both Screens
Learn how to connect a laptop to a monitor and use both screens for extended display. This guide covers ports, cables, setup in Windows & macOS, and troubleshooting.
Connecting your laptop to a monitor significantly expands your digital workspace, making multitasking easier, improving productivity, and offering a more comfortable viewing experience. Whether you need extra screen real estate for work, a larger display for entertainment, or a dual-screen setup for productivity, learning how to connect a laptop to a monitor and use both screens is a valuable skill. This guide will walk you through the entire process, covering various connection types and optimizing your dual-display setup for seamless use.
Why Connect Your Laptop to an External Monitor?
Expanding your laptop’s display offers numerous benefits:
- Increased Productivity: Spread out your applications across two screens, eliminating constant tab-switching. Keep research on one screen and your document on the other.
- Enhanced Ergonomics: Position an external monitor at eye level, promoting better posture and reducing neck strain compared to looking down at a laptop screen.
- Larger Viewing Area: Enjoy movies, games, or detailed spreadsheets on a bigger, more comfortable display.
- Improved Clarity: External monitors often boast higher resolutions, better color accuracy, and larger sizes than built-in laptop screens.
- Dedicated Workstation: Transform your portable laptop into a powerful desktop-like setup when you’re at your desk.
Step-by-Step Guide: Connecting Your Laptop to a Monitor
The process involves identifying ports, connecting cables, and then configuring display settings in your operating system.
Step 1: Identify Available Ports on Your Laptop and Monitor
This is the most crucial initial step. Laptops and monitors come with a variety of video output and input ports. You’ll need to find a matching pair.
- Common Laptop Video Output Ports:
- HDMI (High-Definition Multimedia Interface): The most common digital audio/video port on modern laptops. It looks like a trapezoid.
- DisplayPort (DP) / Mini DisplayPort: Common on business laptops, gaming laptops, and older Macs. Offers high bandwidth for high resolutions and refresh rates.
- USB-C / Thunderbolt: Increasingly popular on newer, thinner laptops. This versatile port can carry video (via “DisplayPort Alt Mode”), data, and even power. You’ll often need a USB-C to HDMI/DisplayPort adapter or a docking station.
- VGA (Video Graphics Array): An older, analog port. Found on very old laptops and monitors. Provides lower image quality compared to digital alternatives.
- DVI (Digital Visual Interface): Less common on laptops but sometimes found on older docking stations or desktop replacements.
- Common Monitor Video Input Ports: Monitors typically have a selection of HDMI, DisplayPort, DVI, and sometimes VGA ports.
- Match the Ports: Your goal is to find a video output port on your laptop and a corresponding video input port on your monitor. For example, if your laptop has an HDMI port, look for an HDMI input on your monitor.
Step 2: Acquire the Necessary Cables or Adapters
Once you know your ports, get the right cable.
- Direct Cables: If your laptop and monitor have the same port (e.g., both have HDMI), you simply need an HDMI-to-HDMI cable. The same applies to DisplayPort, DVI, or VGA.
- Adapters: If the ports don’t match (e.g., laptop has USB-C, monitor has HDMI), you’ll need an adapter (e.g., USB-C to HDMI adapter).
- Docking Stations/Hubs: For laptops with limited ports (especially USB-C-only), a docking station or USB-C hub can be a great investment. These expand your laptop’s connectivity, offering multiple video outputs (HDMI, DP), USB ports, Ethernet, and sometimes power delivery through a single connection. This is ideal for a permanent desk setup.
Step 3: Connect Your Laptop to the Monitor
This is the straightforward physical connection step.
- Power Off (Optional but Recommended): While often safe to “hot-plug,” it’s good practice to power off both your laptop and the monitor before connecting cables, especially if you’re unsure about your specific hardware.
- Connect Video Cable: Plug one end of your chosen video cable (HDMI, DisplayPort, DVI, VGA, or adapter) into the appropriate video output port on your laptop.
- Connect to Monitor: Plug the other end of the video cable into the corresponding video input port on your monitor. If your monitor has multiple input ports of the same type (e.g., HDMI 1, HDMI 2), note which one you’re using.
- Connect Monitor Power: Plug the monitor’s power cable into a wall outlet or power strip.
- Power On Devices: Turn on your monitor first, then power on your laptop.
Step 4: Select the Correct Input on Your Monitor
Many monitors don’t automatically switch to the active input.
- Monitor Input Selection: Use the physical buttons on your monitor (often on the bezel or underside) to access its On-Screen Display (OSD) menu.
- Select Input Source: Navigate through the OSD menu to find the “Input,” “Input Source,” or “Source” option. Select the input that matches the port you used (e.g., HDMI 1, DisplayPort, VGA).
- Confirm Display: Your laptop’s screen should now appear on the external monitor.
Step 5: Configure Display Settings in Windows
Once the monitor is connected and recognized, you need to tell Windows how to use both screens.
- Access Display Settings (Quick Method):
- Press the Windows key + P (Project). A sidebar or pop-up will appear with display options.
- Choose a Display Mode:
- PC screen only: Uses only the laptop’s built-in screen.
- Duplicate: Shows the same content on both screens. Useful for presentations.
- Extend: This is the most common and powerful option. It makes your external monitor an extension of your laptop’s screen, allowing you to drag windows between them.
- Second screen only: Turns off the laptop’s built-in screen and uses only the external monitor. Ideal for a desktop-like setup.
- Select “Extend” to use both screens as a single, larger desktop.
- Access Display Settings (Detailed Method):
- Right-click anywhere on an empty area of your desktop.
- Select “Display settings” from the context menu.
- Alternatively, go to Start Menu > Settings > System > Display.
- Arrange Your Displays:
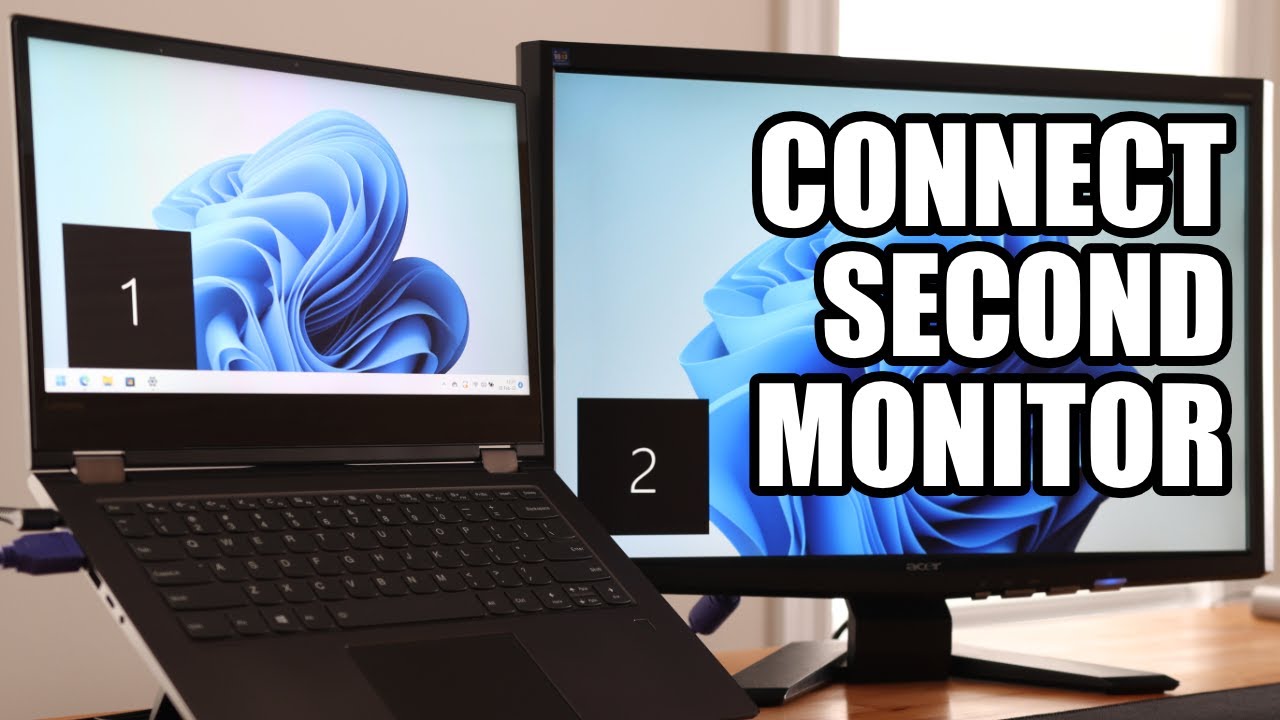
- At the top of the Display settings window, you’ll see graphical representations of your laptop screen (labeled “1”) and external monitor (labeled “2”).
- Click and drag these monitor icons to match their physical arrangement on your desk. For example, if your external monitor is physically to the right of your laptop, drag icon “2” to the right of “1.” This ensures your mouse cursor moves naturally between screens.
- Click “Identify” to briefly show the number on each screen if you’re unsure which is which.
- Set Main Display:
- Click on the monitor icon you want to be your primary display (where your taskbar and desktop icons will appear by default, and where new applications will typically open).
- Scroll down and check the box that says “Make this my main display.” (You can always drag windows to the other screen later).
- Adjust Resolution and Orientation (Optional):
- For each monitor, ensure the “Display resolution” is set to its native resolution for the sharpest image (usually marked as “(Recommended)”).
- If you have a monitor that can pivot, you can change the “Display orientation” (e.g., from Landscape to Portrait).
- Apply Changes: After making your selections, click “Apply” or “Keep changes” when prompted.
Step 6: Configure Display Settings in macOS
Connecting an external monitor to a MacBook or other Mac laptop is also quite straightforward.
- Connect Monitor: Connect your external monitor to your Mac using the appropriate cable (HDMI, DisplayPort, USB-C/Thunderbolt). macOS usually detects new displays automatically.
- Open System Settings / System Preferences:
- Click the Apple menu in the top-left corner of your screen.
- Select “System Settings” (macOS Ventura and later) or “System Preferences” (older macOS versions).
- Navigate to Displays:
- In System Settings, click on “Displays” in the sidebar.
- In System Preferences, click on the “Displays” icon.
- Arrange Your Displays (Arrangement Tab):
- In the Displays window, click on the “Arrangement“ tab. You’ll see a graphical representation of your laptop screen and external monitor(s).
- Drag and Drop: Click and drag the miniature monitor icons to visually match their physical placement on your desk.
- Set Main Display: The white bar at the top of one of the monitor icons represents your primary display (where your menu bar will appear). Drag this white bar to the monitor you wish to designate as your main screen.
- Disable “Mirror Displays”:
- For an extended display setup, ensure the “Mirror Displays” checkbox (usually at the bottom of the “Arrangement” tab) is unchecked. If it’s checked, your Mac will duplicate the content of your main screen onto the external monitor.
- Adjust Resolution (Optional):
- Below the arrangement, you can click on each monitor icon to adjust its resolution. Selecting “Default for display” is usually the best option for optimal clarity. You can also choose “Scaled” resolutions.
- Close Settings: Your changes in macOS are typically applied automatically. Simply close the System Settings/Preferences window.
Optimizing Your Dual-Screen Setup
- Keyboard and Mouse: For a desktop-like experience, connect an external keyboard and mouse to your laptop. This significantly improves comfort and ergonomics.
- Laptop Placement: You can place your laptop to the side of the external monitor, or even close the laptop lid (most laptops are designed to operate with the lid closed when connected to an external monitor; check your laptop’s settings if it goes to sleep).
- Ergonomics: Position your external monitor at eye level to reduce strain. Consider a monitor stand or arm.
- Wallpaper: Set different wallpapers for each monitor or a panoramic image that spans both displays for a customized look.
- Snap Assist (Windows): Use Windows key + Arrow keys to quickly move and snap windows to halves or quarters of either screen.
- Virtual Desktops/Spaces: Utilize virtual desktops (Windows Task View) or Spaces (macOS Mission Control) to further organize your applications across your expanded workspace.
Troubleshooting Common Connection Issues
- “No Signal” or Black Screen on Monitor:
- Check Cables: Ensure all video and power cables are securely connected at both ends.
- Correct Input: On your monitor, use the input selection button to cycle through inputs (HDMI 1, HDMI 2, DisplayPort, etc.) until you find the correct one.
- Reboot: A simple restart of your laptop can often resolve detection issues.
- Driver Update: Ensure your laptop’s graphics drivers are up to date. Visit your laptop manufacturer’s support site or the GPU manufacturer’s site (Intel, AMD, NVIDIA).
- Try Different Port/Cable/Adapter: If possible, test with a different port on your laptop/monitor, or a different cable/adapter.
- Monitor Detected but Not Displaying Correctly (Blurry, Wrong Resolution):
- Native Resolution: Go to display settings and ensure the resolution is set to the monitor’s native resolution (marked as “Recommended”).
- Scaling: Sometimes, scaling settings can cause issues. Try adjusting display scaling in your OS settings.
- Refresh Rate: In advanced display settings, ensure the refresh rate (Hz) matches your monitor’s capabilities.
- Mouse Cursor Gets Stuck Between Screens:
- This almost always means the arrangement of your monitor icons in your display settings doesn’t match your physical setup. Adjust the position of the monitor icons in your OS’s display settings.
- Laptop Goes to Sleep When Lid is Closed:
- Windows: Go to Control Panel > Power Options > Choose what closing the lid does. Set “When I close the lid” to “Do nothing” for both “On battery” and “Plugged in.”
- macOS: When connected to an external monitor, keyboard, and mouse, macOS should automatically enter “clamshell mode” when the lid is closed. Ensure you have external input devices connected.
Conclusion
Knowing how to connect your laptop to a monitor and use both screens is a versatile skill that can dramatically enhance your computing experience. By understanding the different connection types, configuring your display settings correctly, and optimizing your setup, you can enjoy a more productive, ergonomic, and immersive digital environment. This simple upgrade is one of the best ways to get more out of your existing laptop.