Editorial
How to Create Guest Account in Windows 11
Learn how to create a guest account in Windows 11 for temporary users, protecting your personal data and maintaining system privacy.
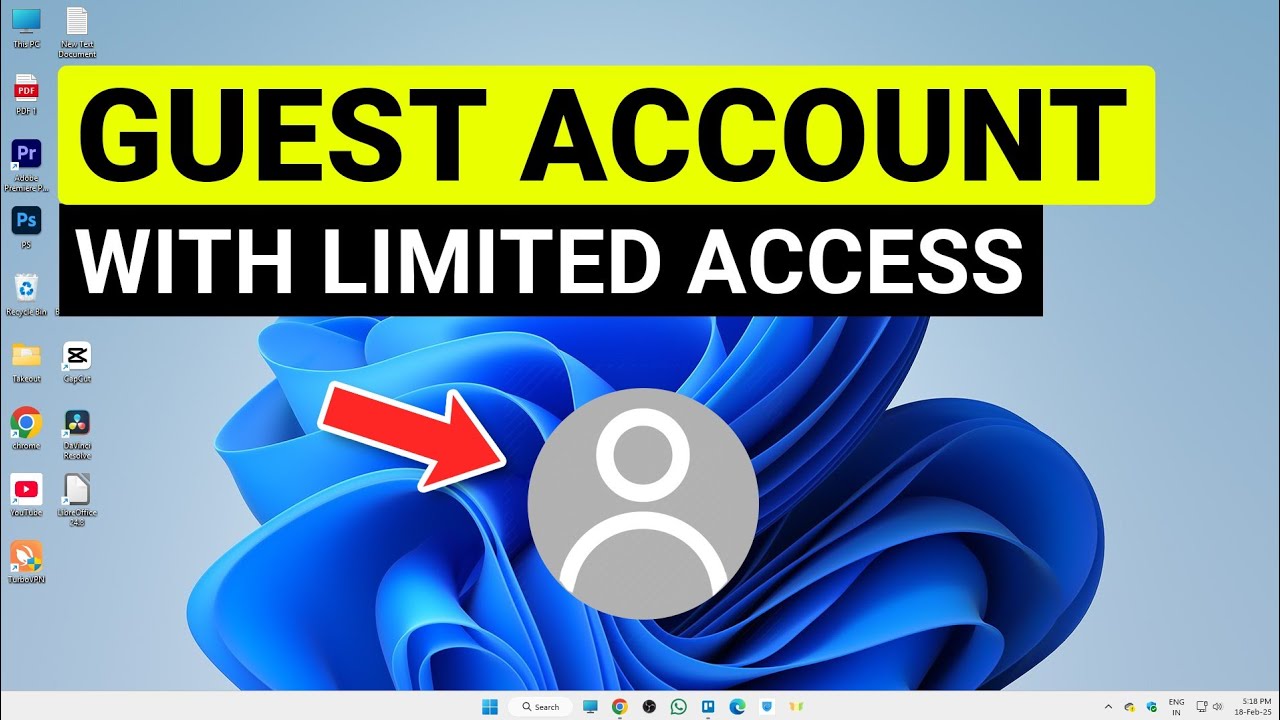
Sharing your computer can be a convenient way to allow friends, family, or colleagues temporary access. However, you probably don’t want them poking around your personal files, changing settings, or installing unwanted software. This is where a guest account comes in handy. While Windows 11 no longer offers a dedicated “Guest” account as older Windows versions did, you can achieve the same level of restricted access by creating a new local user account with standard privileges.
The concept of multiple user accounts on a single computer dates back to mainframe systems and later became prevalent in multi-user operating systems like Unix/Linux. Microsoft introduced multi-user capabilities to its consumer-oriented Windows versions with Windows XP, including the “Guest” account feature. This feature provided a simple, temporary profile with very limited permissions, designed for one-time or casual use without requiring a password. While the dedicated Guest account has been deprecated for security reasons (it could sometimes be exploited or misconfigured), the need for providing limited access persists. Windows 11 addresses this by leveraging its robust user account control (UAC) and local user management features to create highly restricted “guest-like” profiles.
This comprehensive guide will show you how to create a guest account in Windows 11 by setting up a new local user with standard privileges, ensuring your personal data and system settings remain secure.
Why Create a Guest Account (or a Guest-Like Account)?
Creating a separate account for temporary users offers significant benefits:
- Data Protection: Keeps your personal files, documents, photos, and browser history private and inaccessible to others.
- System Security: Prevents guests from installing malicious software, changing critical system settings, or accessing sensitive applications.
- Privacy: Ensures that any Browse activity or temporary files created by the guest user are isolated from your main profile.
- Clean Slate: Provides a clean desktop environment without your personal shortcuts or files.
- Controlled Environment: Guests cannot install programs that require administrator privileges, offering a layer of protection against unwanted software.
Methods to Create a Guest-Like Account in Windows 11
Since the traditional “Guest” account is removed, we’ll focus on creating a standard local user account with restricted privileges, which serves the same purpose effectively.
Method 1: Using Windows Settings (Recommended for Most Users)
This is the most user-friendly way to create a new local account that can serve as your guest profile.
- Step 1: Open Settings.
- Click the Start button (Windows logo on your taskbar) and then click the Settings gear icon.
- Alternatively, press Windows key + I on your keyboard.
- Step 2: Navigate to “Accounts” > “Family & other users.”
- In the Settings window, select “Accounts” from the left-hand navigation pane.
- Then, click on “Family & other users” on the right side.
- Step 3: Add an “Other user.”
- Under the “Other users” section, click the “Add account” button next to “Add other user.”
- Step 4: Choose “I don’t have this person’s sign-in information.”
- A Microsoft account sign-in window will appear. Since we want a local account (like a guest), click the link that says “I don’t have this person’s sign-in information.”
- Step 5: Select “Add a user without a Microsoft account.”
- On the next screen, click the link that says “Add a user without a Microsoft account.”
- Step 6: Create the Local Account.
- Enter a username for your guest account. Common choices are “Guest,” “Visitor,” or “Temp User.”
- Crucially, leave the password fields blank. This creates an account that anyone can log into without a password, similar to the old Guest account behavior. If you want a basic password (e.g., “guest”), you can set one here.
- Click “Next.”
You have now created a new standard local user account! When someone logs into this account, they will have limited access and won’t be able to make system-wide changes or access your personal files unless explicitly shared.
Method 2: Using Computer Management (For Advanced Users)
This method provides direct access to Windows’ underlying user management tools and is often used by system administrators.
- Step 1: Open Computer Management.
- Right-click the Start button (Windows logo on your taskbar).
- Select “Computer Management” from the context menu.
- Step 2: Navigate to “Local Users and Groups.”
- In the Computer Management window, expand “Local Users and Groups” in the left-hand pane.
- Click on “Users.”
- Step 3: Create a New User.
- Right-click anywhere in the blank space in the right-hand pane.
- Select “New User…“
- Step 4: Configure the New User Account.
- User name: Enter a name like “Guest” or “Visitor.”
- Full name: (Optional) Provide a descriptive name if desired.
- Description: (Optional) E.g., “Temporary account for visitors.”
- Password: Leave both “Password” and “Confirm password” fields blank to create a password-less guest-like account.
- Uncheck “User must change password at next logon.”
- Check “User cannot change password.” (Optional, but good for a guest account).
- Check “Password never expires.” (Optional, if you want it to be permanent guest).
- Check “Account is disabled.” (Ensure this is UNCHECKED if you want the account to be immediately usable. If checked, you’ll need to uncheck it later by right-clicking the user and going to Properties).
- Click “Create,” then “Close.”
- Step 5: Verify Group Membership.
- Double-click the new “Guest” user you just created.
- Go to the “Member Of” tab.
- Ensure the account is a member of the “Users” group (which grants standard user permissions). If it’s somehow in “Administrators,” remove it.
This method achieves the same result as using Windows Settings but provides a slightly different interface for managing user properties.
Method 3: Using Command Prompt or PowerShell (For Automation or Advanced Users)
For those comfortable with command-line tools, you can create a local user account using Command Prompt or PowerShell with administrative privileges.
- Step 1: Open Command Prompt or PowerShell as Administrator.
- Search for “cmd” or “powershell” in the Windows search bar.
- Right-click on “Command Prompt” or “Windows PowerShell” and select “Run as administrator.”
- Click “Yes” if prompted by UAC.
- Step 2: Create the User Account.
- For Command Prompt: net user GuestAccountName “” /add (Replace GuestAccountName with your desired name, e.g., net user Guest “” /add. The “” signifies no password.)
- For PowerShell: New-LocalUser -Name “GuestAccountName” -NoPassword (Replace GuestAccountName with your desired name, e.g., New-LocalUser -Name “Guest” -NoPassword)
- Step 3: (Optional) Remove from default “Users” group if needed (unlikely for guest).
- By default, new users are added to the “Users” group (standard user). If for some reason you wanted to further restrict it (e.g., remove it from the “Users” group and assign it only to “Guests” group for older Windows server concepts, which isn’t standard practice for Windows 11 client guest accounts), you would do that here. For a typical guest setup, this step is not needed.
This method is fast and can be useful for scripting account creation, but for a single guest account, the Settings app is generally simpler.
How to Log into the Guest Account
Once the guest-like account is created:
- Step 1: Sign Out or Switch User.
- Click the Start button.
- Click on your profile picture at the bottom of the Start Menu.
- Select “Sign out” or “Switch user.”
- Step 2: Select the Guest Account.
- On the login screen, you will now see the newly created guest account alongside your other user accounts.
- Click on the guest account to log in. Since we left the password blank, it should log in directly (unless you set a password).
The first time a guest account logs in, Windows will set up the profile, which may take a few moments.
Managing Your Guest-Like Account
- Switching User Type:
- If you later decide to give the guest account more permissions (e.g., to be an administrator, though not recommended for a guest account), go to Settings > Accounts > Family & other users, click on the guest account, and select “Change account type.”
- Removing the Account:
- When you no longer need the guest account, you can easily remove it. Go to Settings > Accounts > Family & other users, click on the guest account, and select “Remove.”
- You’ll be asked if you want to “Delete account and data.” Select this to remove the profile and any files created by the guest user.
Important Considerations for Guest Accounts
- No True “Ephemeral” Guest Account: Unlike some Linux distributions or older Windows Server concepts, the “guest-like” account you create in Windows 11 is a permanent local account. Files saved to its desktop or documents folder will persist between sessions unless you manually delete them.
- Standard User Limitations: A standard user (which your guest account will be) cannot:
- Install most applications (unless they are UWP apps from the Microsoft Store that don’t require admin elevation).
- Change system-wide settings.
- Access files in other user profiles unless those files are explicitly shared.
- Modify critical system files or drivers.
- Privacy Best Practices: Even with a guest account, avoid leaving sensitive personal files on publicly accessible parts of your drive (e.g., the C: drive root, or publicly shared folders).
- Software for Monitoring/Resetting (Advanced): For scenarios like public kiosks or repeated guest use, tools like Deep Freeze or Windows SteadyState (discontinued but similar alternatives exist) allow you to revert the system to a clean state after each restart or log off. This is beyond basic guest account creation but worth noting for advanced use cases.
By following these steps, you can effectively create a guest account in Windows 11 that provides secure and controlled access for temporary users, giving you peace of mind that your primary account and data remain protected.
Frequently Asked Questions (FAQ)
Q1: Does Windows 11 have a built-in “Guest” account like older Windows versions?
No, Windows 11 (and Windows 10) no longer features the dedicated, built-in “Guest” account that was present in older Windows versions like XP and 7. Instead, you create a standard local user account with no password or a simple password, which functions as a guest-like account with limited permissions.
Q2: What are the main benefits of creating a guest-like account?
The main benefits of creating a guest-like account are to protect your personal files and data, prevent unauthorized system changes or software installations, and maintain privacy by isolating the guest’s activities from your main user profile.
Q3: Can a user on a guest-like account install software?
A user on a guest-like account (a standard user) cannot install most traditional desktop software that requires administrator privileges. They can typically install Universal Windows Platform (UWP) apps from the Microsoft Store that don’t require elevated permissions.
Q4: Will files saved by a guest user be deleted when they log out?
No, files saved by a guest user to their desktop, documents, or other profile folders will persist between sessions, similar to any other local user account. If you want to ensure no files are left behind, you would need to manually delete them from the guest account’s profile after use, or implement more advanced system resetting tools (not covered in this basic guide).
Q5: Can I set a password for the guest account?
Yes, you can set a password for the guest account during its creation using Windows Settings or Computer Management. If you leave the password fields blank, the account will have no password and can be logged into directly.
Q6: How do I remove a guest-like account from Windows 11?
To remove a guest-like account in Windows 11, go to Settings > Accounts > Family & other users. Click on the guest account, then click “Remove.” You will be prompted to confirm and can choose to “Delete account and data” to erase any files created within that user profile.
Q7: Can a guest user access my personal files in my main account?
No, by default, a guest user (a standard user account) cannot access personal files in your main administrator or standard user account. Each user profile in Windows maintains its own set of isolated folders (e.g., Documents, Pictures, Desktop). Files can only be accessed if they are explicitly shared by the main user or stored in public folders.


